by taylorsmith | Jul 12, 2020 | Uncategorized
This week in the hospital, I was caring for a 46yo patient with a bowel obstruction; we’ll call him Edward (changed for privacy). He is strong and brave and never complained. On my 3rd day on service, I woke up earlier than usual. My patients were especially sick this...
by taylorsmith | Jul 11, 2020 | Uncategorized
I saw this book on my patient’s bedside table yesterday. She was recently diagnosed with metastatic colorectal cancer. She is 41 years old. When I pointed out the book, she said that it is helping her accept her circumstances and calm her anxiety. Two months ago, she...
by taylorsmith | Jul 7, 2020 | Uncategorized
Who are you? I’m really asking. Who are you, really? We all want to believe that we will be cool as cucumbers when crisis hits. We think we’ll keep our heads on straight and gently land the plane, Captain Sully style, on the Hudson river and calmly instruct our...
by taylorsmith | Jul 3, 2020 | Uncategorized
This photo is composed of the countless doctors who died from COVID-19 worldwide. Zoom in. Look at the individual photos. Look at each face, who had a name, a family, and 12+ years of training, to perform the job that ultimately killed them. I’ll admit it for the...
by Ingrid Yang | Jul 2, 2020 | Uncategorized
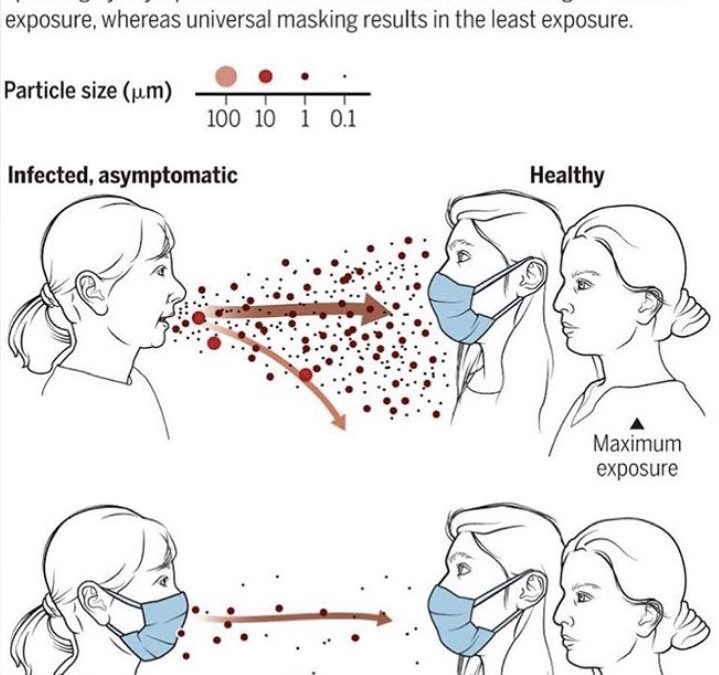
Warning! Math coming your way! I wanted to dispel a common claim that masks disturb breathing. A coronavirus particle is 120 nanometers (nm) in diameter. Oxygen is 0.120 nm and Carbon Dioxide is 0.232 nm. To interpret these numbers very clearly, oxygen is 1000 times...
by taylorsmith | Jun 25, 2020 | Uncategorized
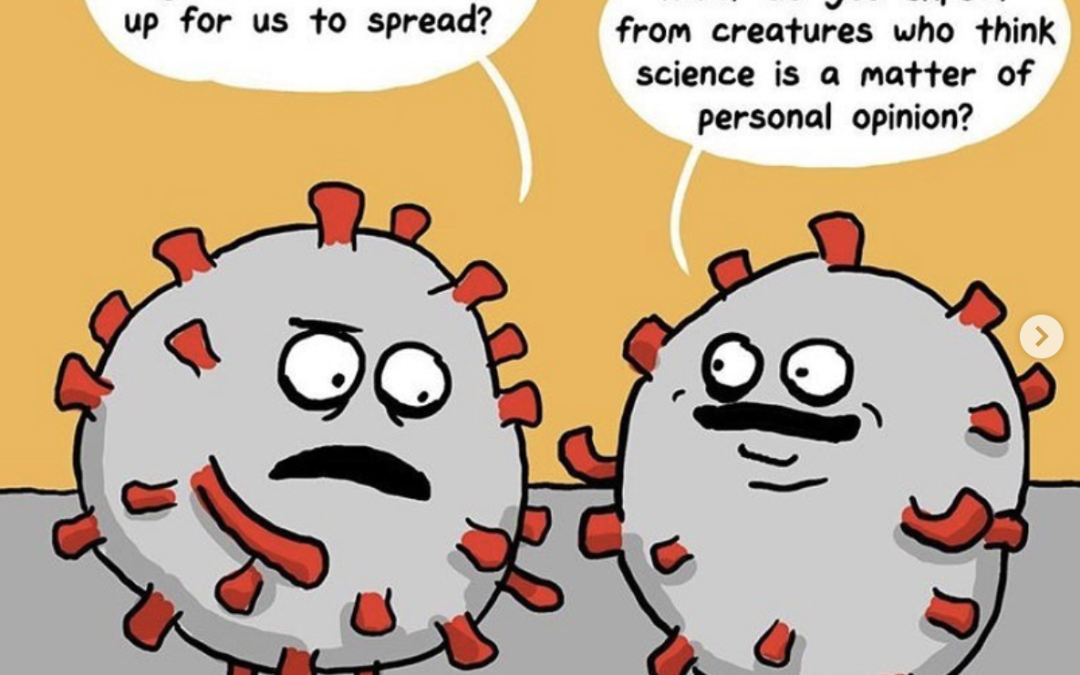
We know how to slow the spread of the coronavirus. And it’s not rocket science. It’s just plain old, run-of-the-mill, everyday science. Just because our communities and restaurants are opening back up, *nothing* has changed about this virus or its lethality. It can...
